

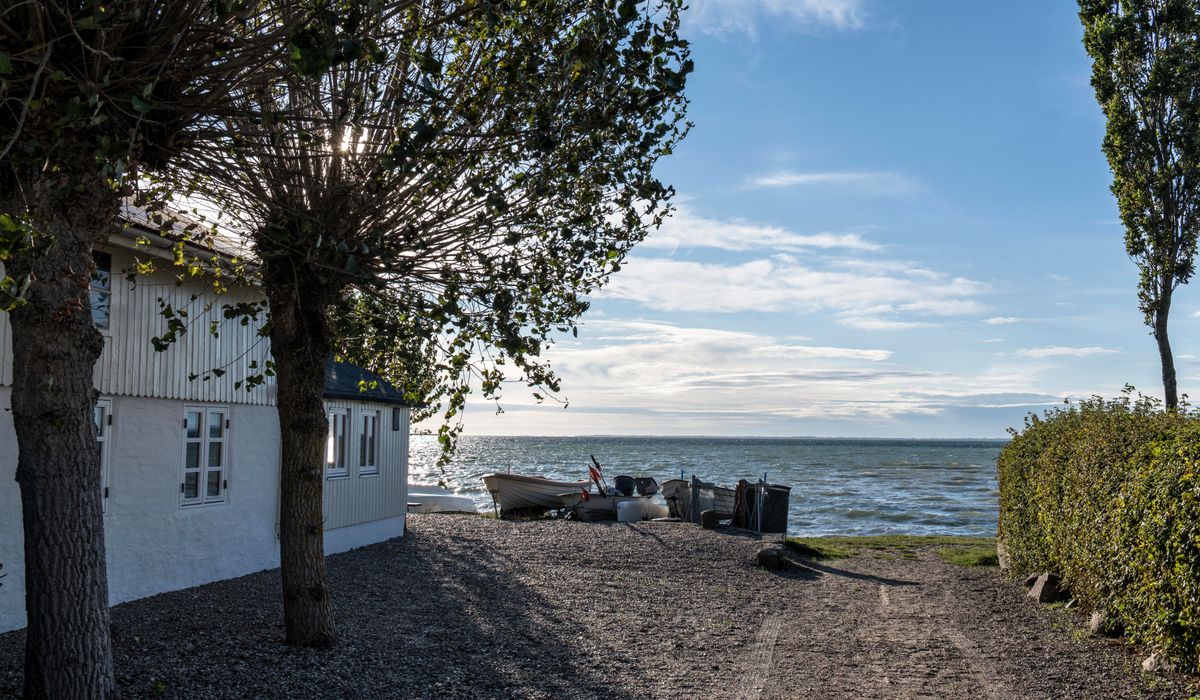
Why Cuttings Suit a Coastal Garden
Gardening by the sea teaches you quickly that bought-in plants are a gamble. A nursery hundreds of miles inland may have raised stock in soft, sheltered conditions, and the first proper gale off the Channel or a salty blast from the North Sea can finish it off in a fortnight. Cuttings from plants that already thrive on your plot carry that hardiness with them. They are genetically the same as the parent, so if the parent has shrugged off windburn, drought and salt spray for three winters, you know what you are getting.
The other appeal is cost. Once you have a handful of reliable coastal shrubs — rosemary, lavender, escallonia, hebe, olearia, cistus, santolina, fuchsia, and natives such as sea thrift or sea campion — you can produce dozens of plants a season from material you would otherwise have trimmed off and composted. A modest cold frame and a few trays suddenly become a small nursery, and there is nothing more neighbourly than swapping spare rooted cuttings over the garden fence.
Choosing and Timing Your Material
Semi-ripe cuttings are the workhorse of the coastal cutting bench. The base of the shoot has begun to firm and turn woody while the tip is still soft and growing — usually from mid-July to early September, once the first flush has finished but before growth slows for autumn. On a windy site, aim for that earlier part of the window so roots form while the soil is still warm.
- Pick healthy, non-flowering shoots with strong colour. Flowering stems root poorly and waste the plant's energy.
- Take cuttings in the morning when shoots are turgid, and keep them in a sealed bag in the shade until you can deal with them.
- Avoid material from the windward edge of a shrub if it looks scorched or brittle; a few feet further in is usually greener and more vigorous.
- Label as you go. A strip of masking tape and a pencil beats trying to remember which tray was the grey-leaved one.
Take more than you need. A 60 to 70 per cent strike rate is a good result for a beginner, and losses to drying out or damping off are normal.
Preparing the Cuttings
Work on a clean surface with sharp, clean secateurs or a craft knife. Cut each shoot into lengths of roughly 8–12cm, making the base cut just below a node — the swelling where leaves and buds join the stem. Roots form most readily at that point.
Strip the lower two-thirds of leaves by running your fingers down the stem, leaving a small cluster at the tip. If the stems are thick and woody at the base, a shallow nick about a centimetre long on one side of the base, sometimes called wounding, encourages rooting. Dip the base in hormone rooting powder or gel, tapping off the excess, or the cut end in a little cinnamon if you prefer to keep things simple.
Handle everything gently. Bruised stems rot rather than root, and on an exposed coastal site you cannot afford to lose half your tray to infection.
Gritty Compost and the Right Conditions
Drainage is everything. A mix of equal parts peat-free multipurpose compost and horticultural grit, with a handful of perlite for good measure, holds just enough moisture without sitting wet. If you garden on heavy clay or chalk, this is the same principle you apply in the border, just in miniature.
- Use clean pots or trays with plenty of drainage holes, filled to within a centimetre of the rim and firmed lightly.
- Insert cuttings around the edge of the pot, spacing them so leaves do not overlap, then water in and let them settle.
- Cover with a clear bag, propagator lid or a cut-down plastic bottle to hold humidity, but ventilate daily to prevent mould.
- Stand them in bright, indirect light — a north-facing windowsill, a shaded cold frame or a spot behind a windbreak wall is ideal. Full coastal sun will cook them.
Water with rainwater where you can; tap water in hard water areas is alkaline and can leave a crust on the compost surface. Keep the mix just damp, never sodden.
Potting On Once Roots Appear
Most semi-ripe cuttings root in six to ten weeks. Resist the temptation to tug them too early. When you see fresh pale roots at the drainage holes, or a gentle pull meets resistance, they are ready. Tip the pot out, tease the cuttings apart, and pot each into its own 9cm pot of gritty multipurpose compost.
Grow them on in a sheltered spot for a few weeks before any exposure to wind. Then harden them off gradually: a week in a cold frame with the lid propped, then a fortnight outdoors in a sheltered corner, then finally out to their planting positions in early autumn or the following spring. A wrap of horticultural fleece over the first winter helps newly planted stock on an exposed site.
From a single afternoon's work with a pair of secateurs you can raise thirty or forty plants: enough to fill a windy border, replace losses, and still have spares to trade. That is a nursery by any reasonable definition — and it cost you little more than grit, compost and patience.






John Doe
14 January, 2022Having no content in post should have adverse..
Chauffina Carr
10 April, 2022We use these tests all time! Killer stuff!
Jim Séchen
16 July, 2022Thanks for all the comments, everyone!